When creating invoices using InvoiceOnline, you have the option to add your company's logo and stamp to the documents. Below, you will find a simple guide on how to correctly upload the logo and stamp.
How to upload the logo and stamp?
Adding the logo and stamp is easy and intuitive. You can upload them directly when creating a new invoice in the Settings section.
This section may initially be hidden, but you can easily expand it according to the following image.

Subsequently, on the right side of the screen, you will find the option to upload the logo and stamp from your computer.
💡 You can upload the logo and stamp in formats: jpg, jpeg, gif, or png. It is important to choose a sufficient file size to ensure the content is easily readable.

InvoiceOnline.com then offers the option to crop the logo and stamp. You can choose whether to use the cropped file or upload it without changes.

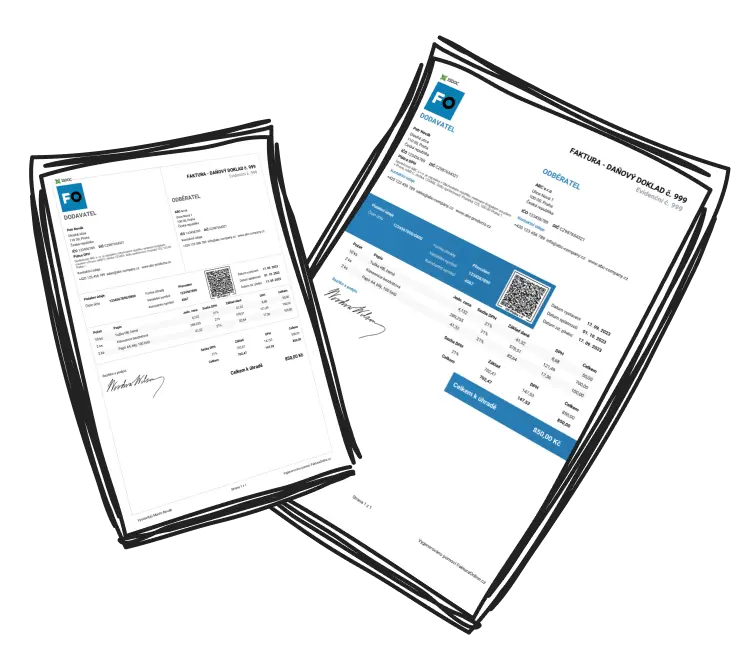
Once you have uploaded the logo and stamp, you will see them on the issued invoice.
By issuing the invoice, the settings are automatically saved, and when creating another invoice, the logo and stamp will already be pre-set.

📩 If you encounter issues with uploading the logo and stamp or need assistance, feel free to contact us at h[email protected].