How to add a new customer to your contacts

1. Adding a new contact while issuing a document
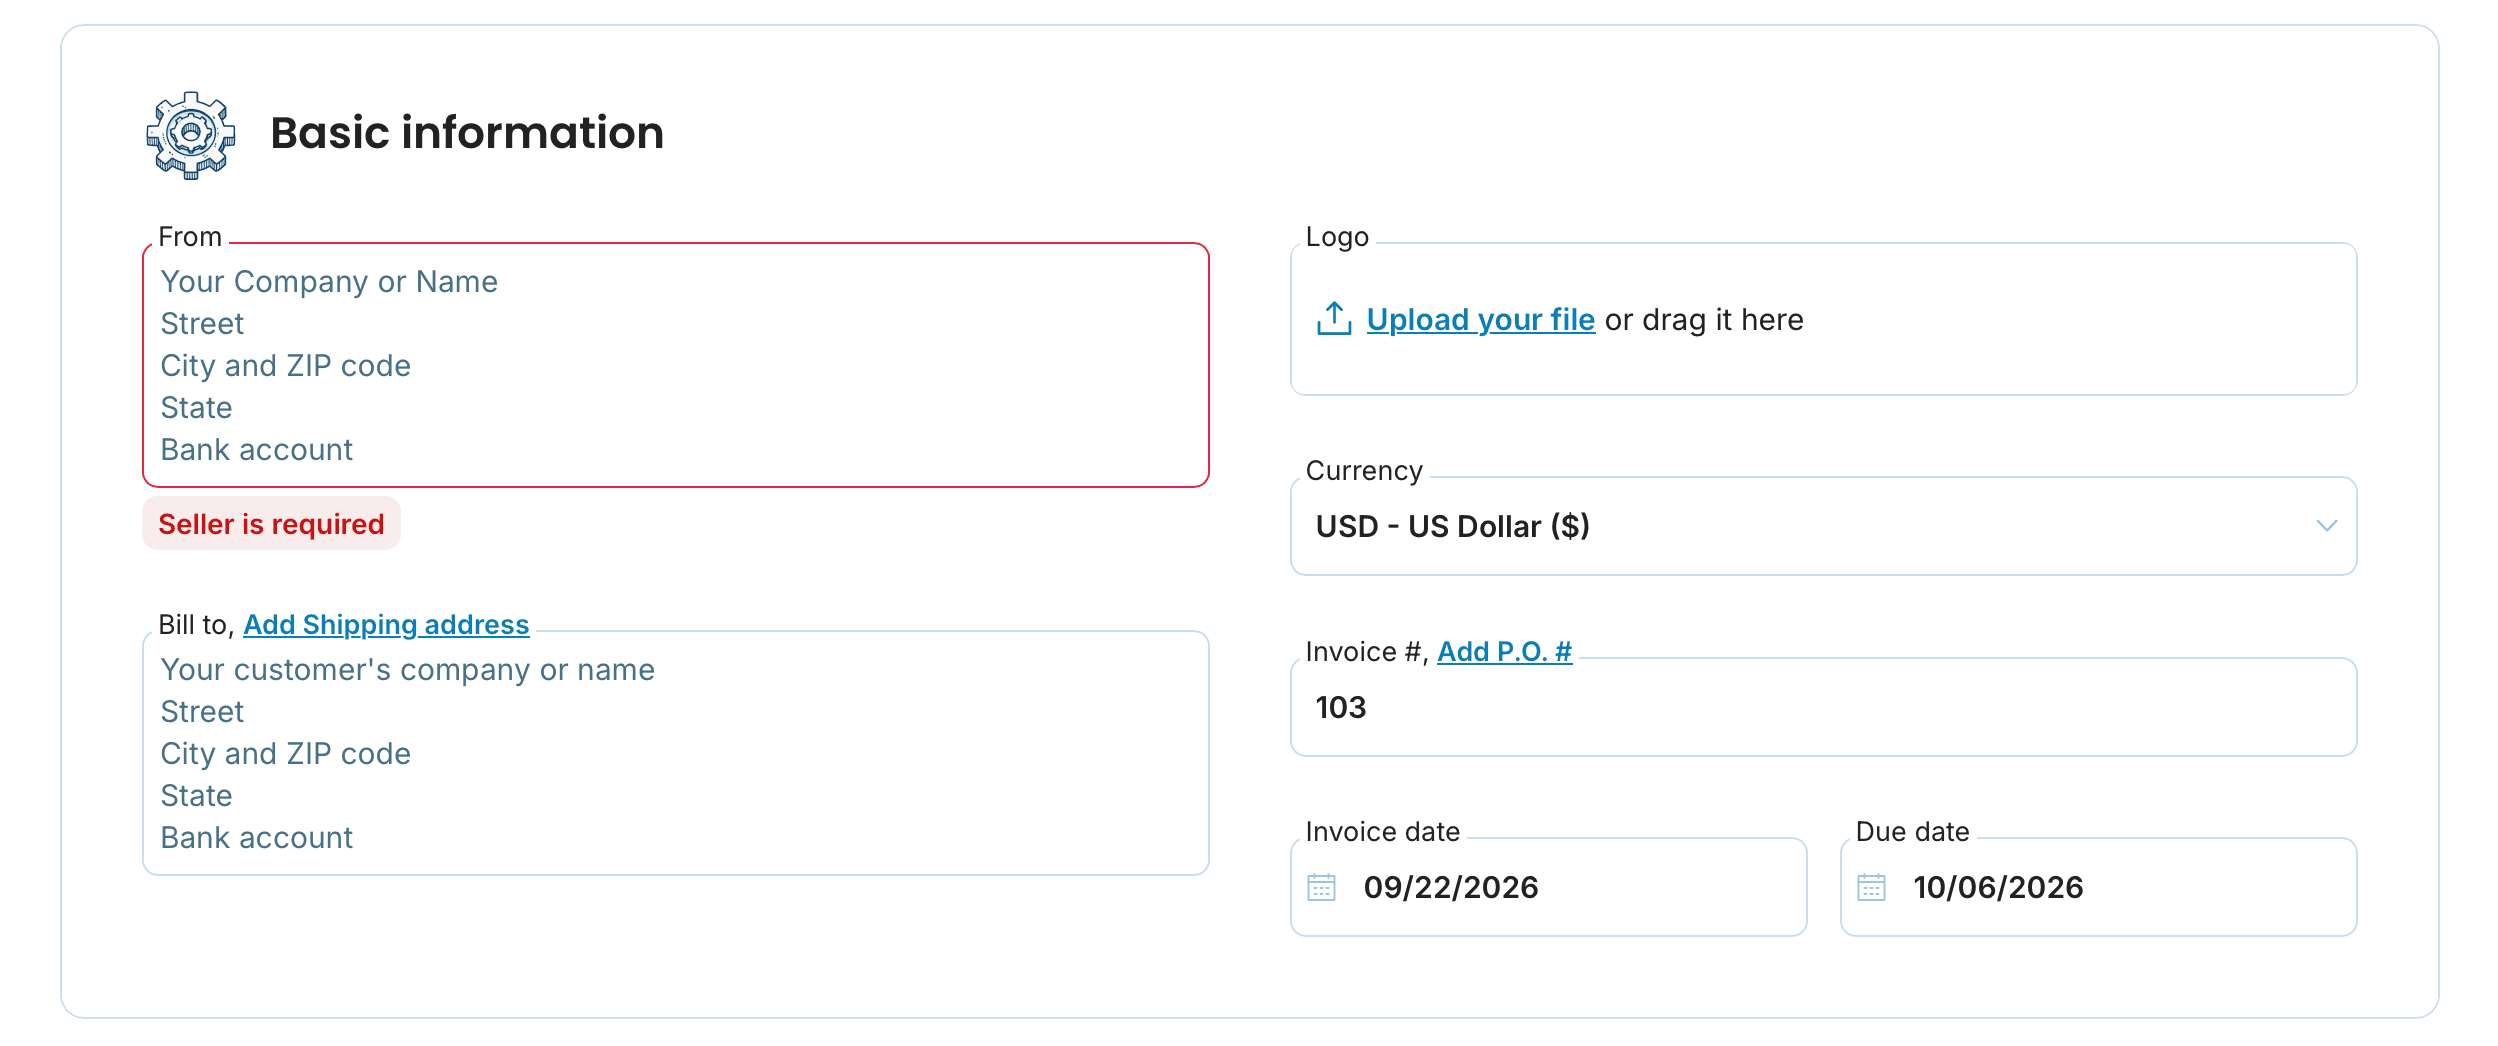
The easiest way to add a new customer to your contact list is directly while issuing a document. How does it work?
Creating a document: Open the document creation tool. When entering customer details, fill in the name, address, email, Tax ID, and other relevant information.
Saving the contact: Once the invoice is issued, the customer’s details will automatically be saved in the Customers section. This means you won’t have to re-enter the data when invoicing the same customer again in the future.
2. Adding a contact without issuing an invoice
If you need to add a new customer but don’t want to issue an invoice for them yet, no problem. Just follow these steps:
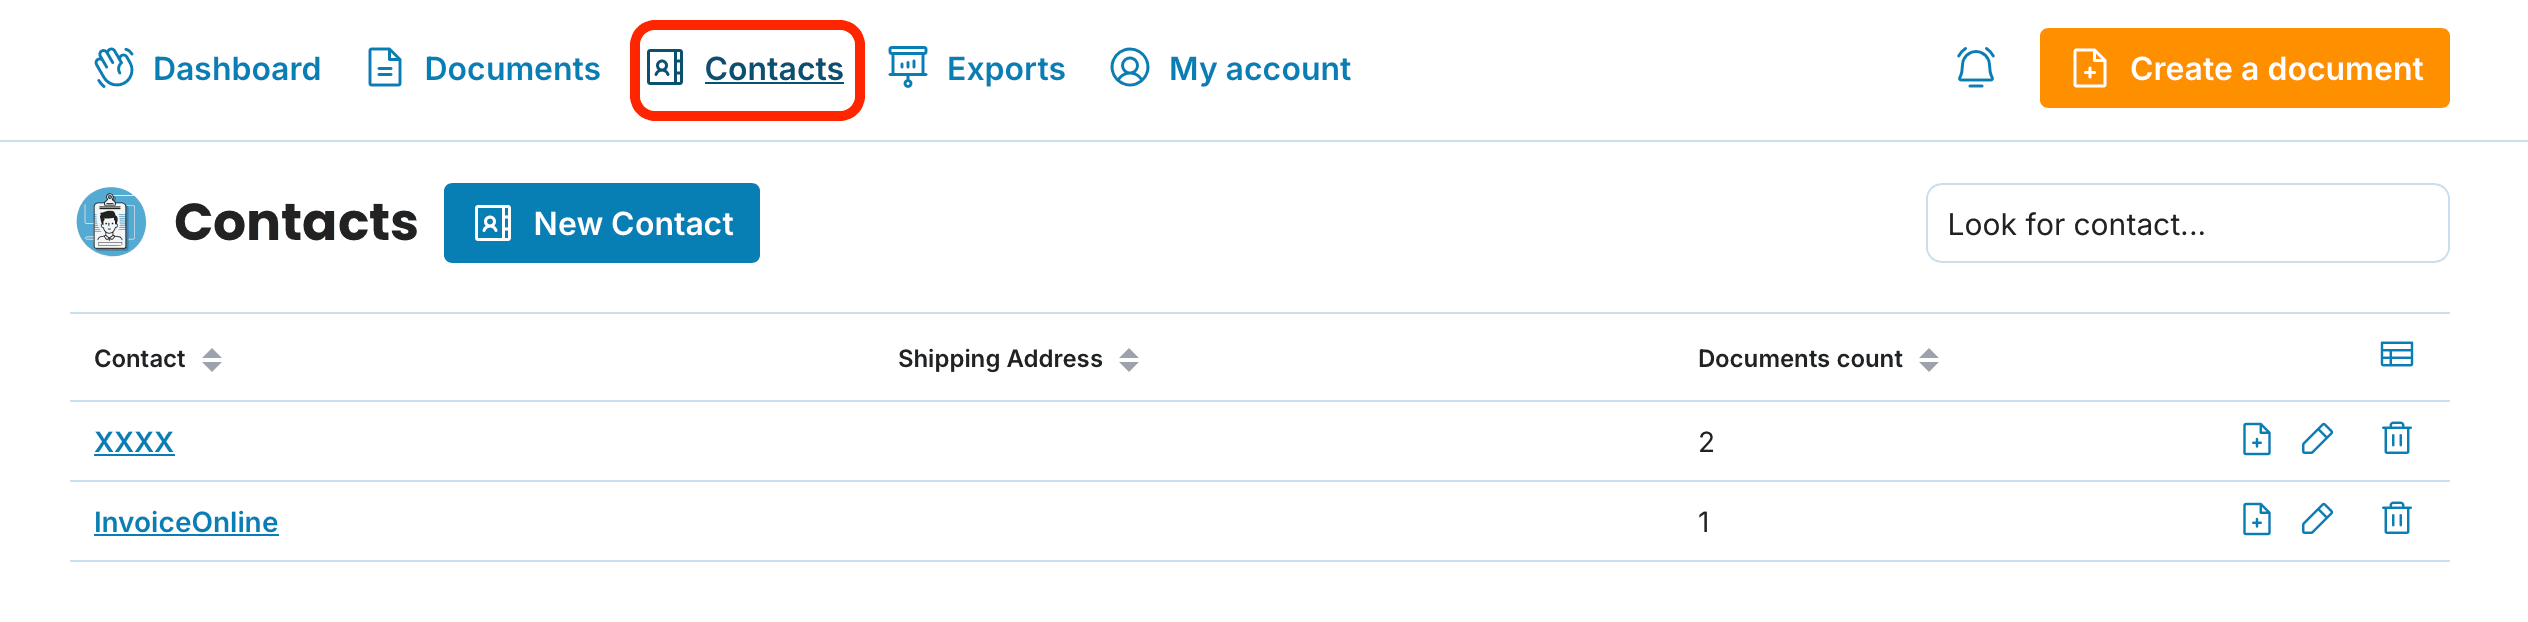
Go to Contacts section
-
Add a New Contact: In the contact list, you’ll find the New Contact button.
After clicking it, a form will open where you can enter customer information (name, email, phone, bank account, and shipping address).
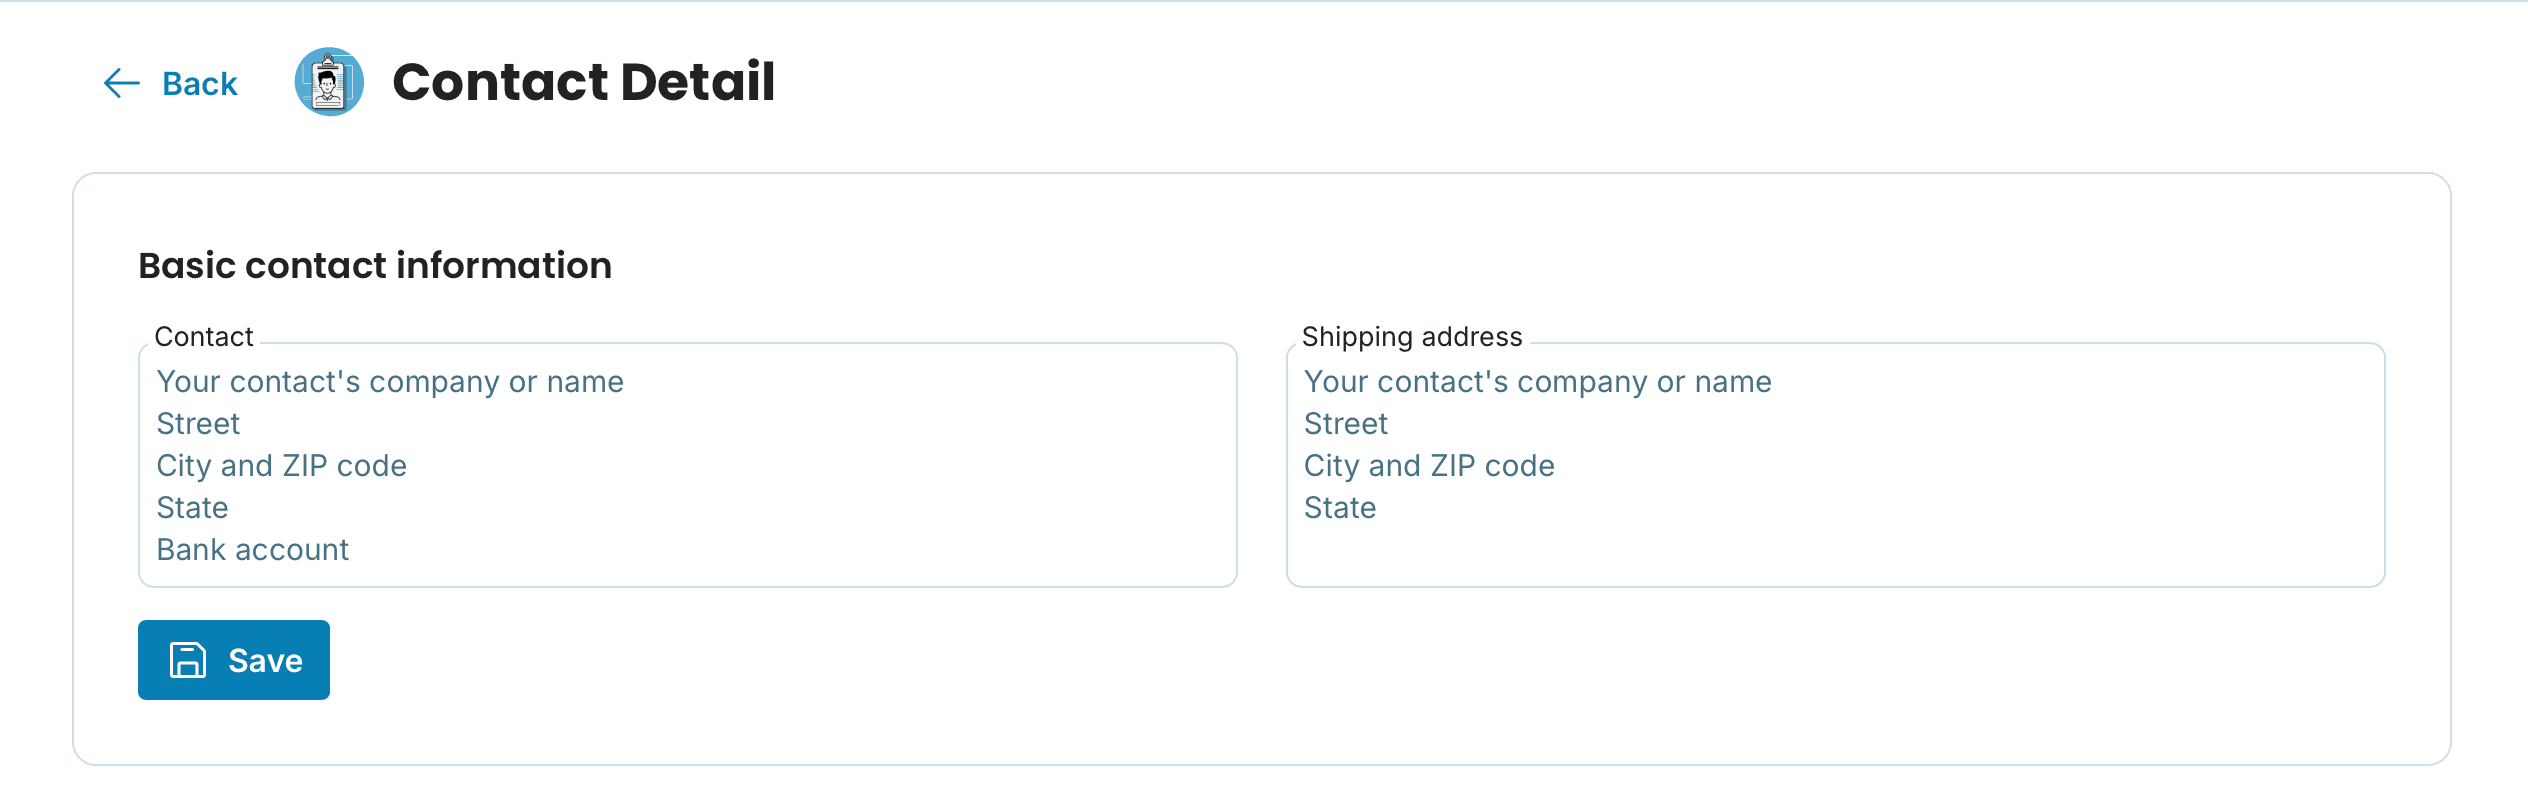
Save the Contact: Fill in all required details and click Save. The new contact will be immediately saved and available in your list.
Contact Management 📝
Once your customers are saved, you can easily manage them. InvoiceOnline.com allows for efficient contact management with several useful features:
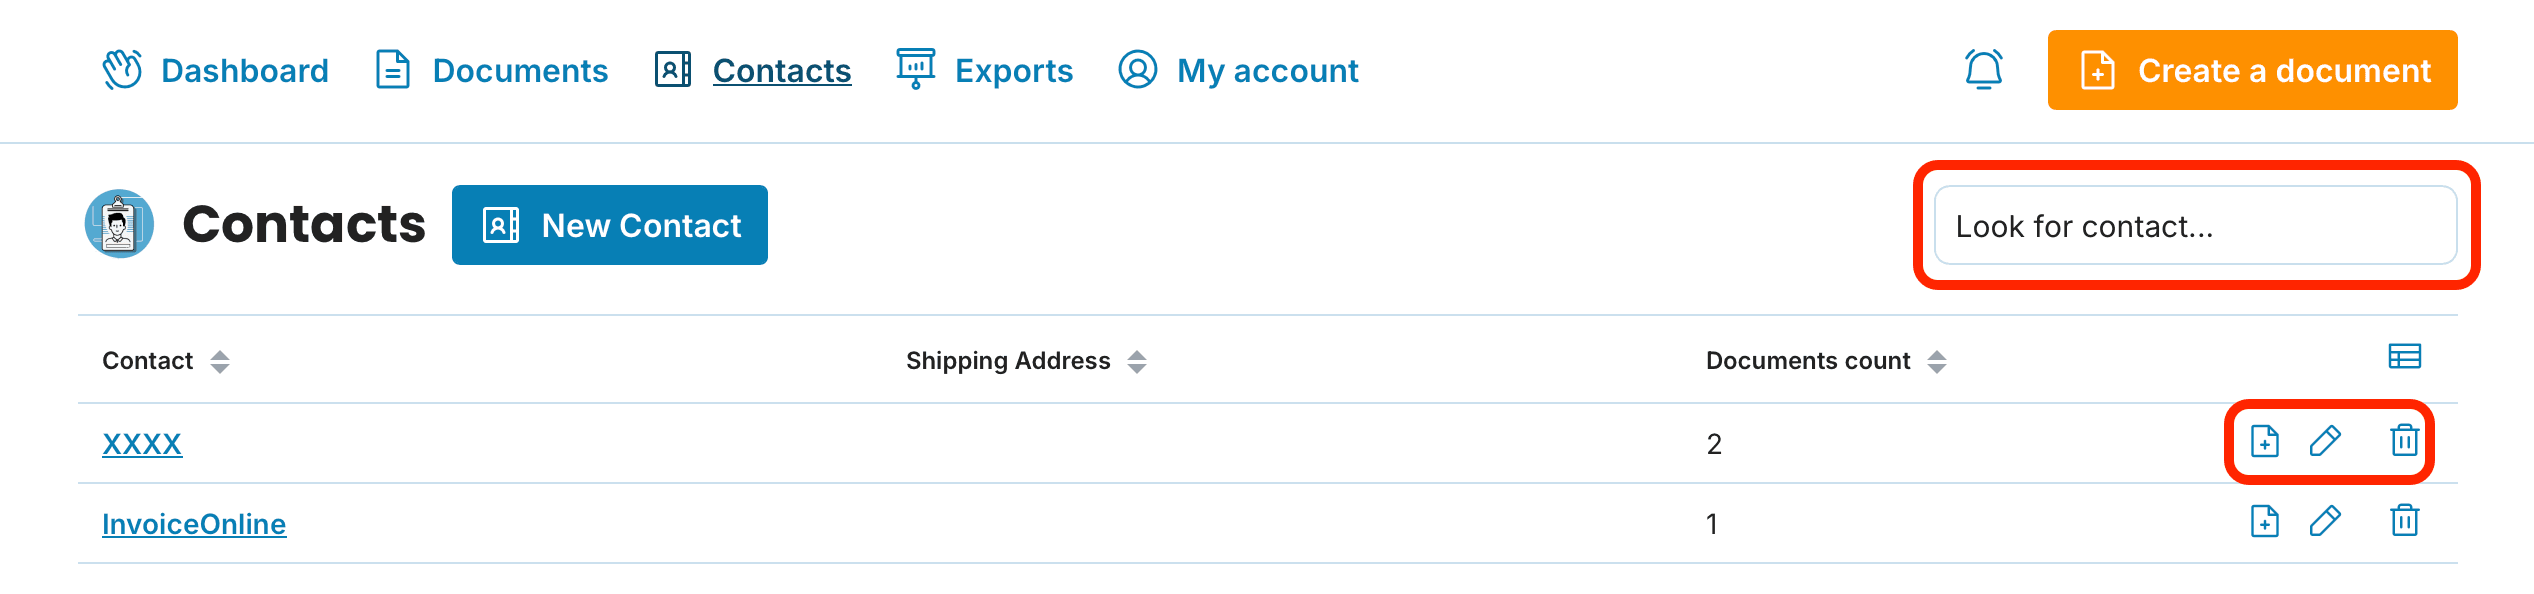
Sort Contacts: Use the arrows next to column titles (Contact, Shipping Address, Documents count) to sort contacts ascending or descending by various criteria.
Search Contacts: If you need to find a specific customer, use the search bar at the top of the contact list. Just enter a name or other detail.
Edit Contacts: Each contact has icons on the right allowing you to issue a new invoice or expense, edit the contact’s information, or delete the contact.
Create a document for the contact: Start creating a document for specific customer with one click

Overview
If you want an overview of invoices issued to a particular customer, simply click on their name in the contact list. A detailed overview of all invoices for that customer will open.
Managing contacts on InvoiceOnline.com is simple and intuitive. Whether you add a customer while issuing a document or separately, you’ll always have a clear overview of all key information.
📩 If you have any questions or need assistance, don’t hesitate to contact us at [email protected].